...
- 테스트 예제 : deep_fizz_buzz.py
비교
차트 imageFormat png orientation vertical title 실행시간 비교 type bar 실행시간 TEST PC (GPU) Local PC (CPU) deep_fizz_buzz.py 50 62 - 워낙 간단한 예제다 보니 별 소용이 없었습니다. 이미지 관련해서 뭔가 예제가 있으면 다음에 재비교 해 보겠습니다.
Tensorflow 설치 환경 구축
...
PIP 인스톨 및 텐서플로우 설치
가상 환경 설치
코드 블럭 language bash $ sudo apt-get
...
install python-pip python-dev python-virtualenv가상 공간 만들기
코드 블럭 language bash $ virtualenv tf_gpu가상 공간 활성화
코드 블럭 language bash $ source tf_gpu/bin/activate- Quit 명령어 : deactivate
가상 공간에 GPU용 소스 설치
코드 블럭 language bash $ pip install matplotlib플롯 라이브러리 설치 (그래프 확인용)
코드 블럭 language bash $ pip install --upgrade https://storage.googleapis.com/tensorflow/linux/gpu/tensorflow-0.10.0rc0-cp27-none-linux_x86_64.whl주피터 테마 설치
코드 블럭 language bash $ pip install git+https://github.com/dunovank/jupyter-themes.git- 개인 CSS 공유 : custom.css
- 개인 화면
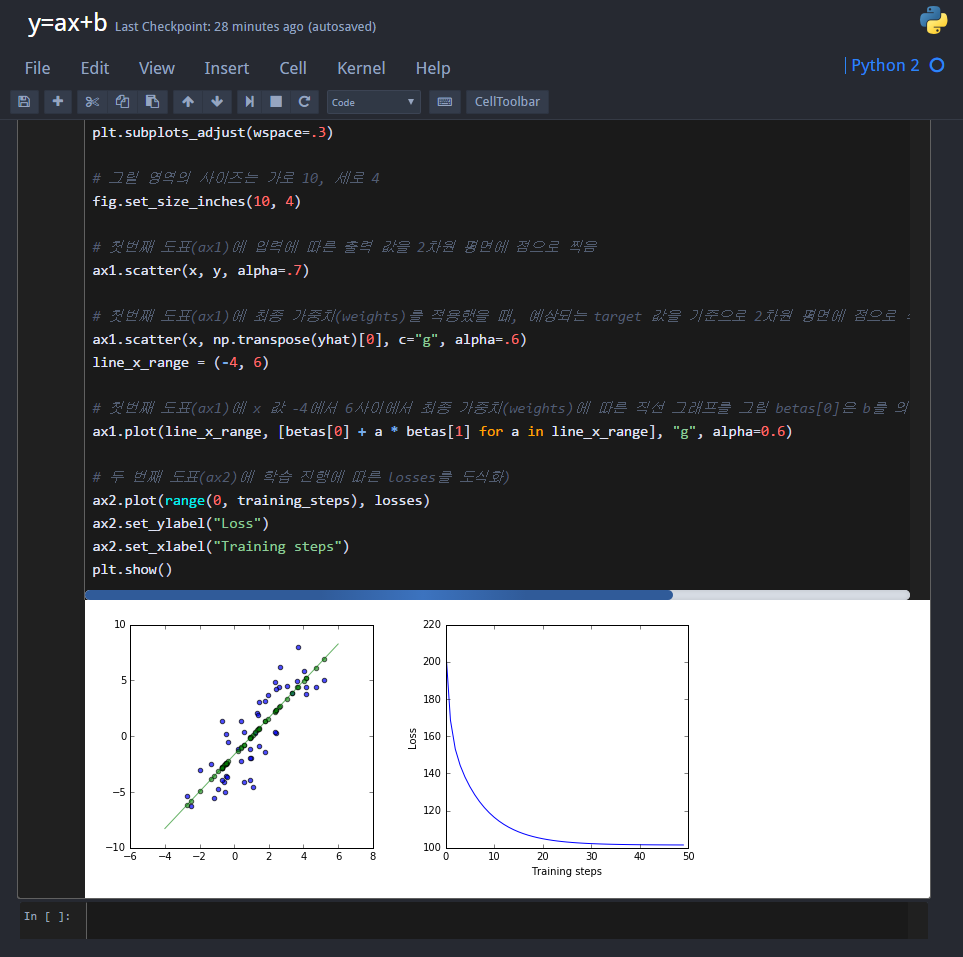
주피터 노트북 실행 (미리 생성해둔 폴더로 실행)
코드 블럭 language bash $ jupyter notebook --ip=0.0.0.0 --notebook-dir=/home/tensorflow/tf_gpu/train &
TensorFlow 동작 확인
...
해당 IP:8888로 접속하여 확인 (위와 같은 화면 확인)
sudo apt-get install python-pip python-dev python-virtualenv